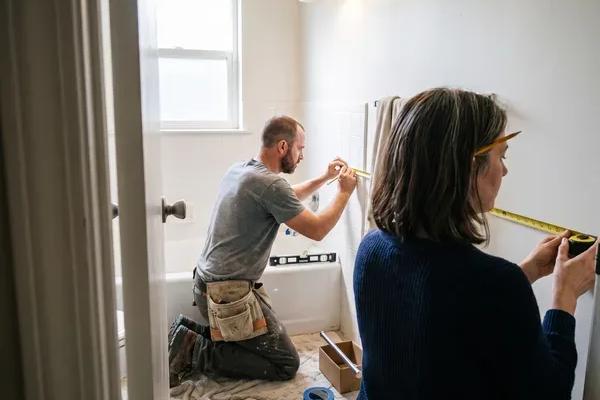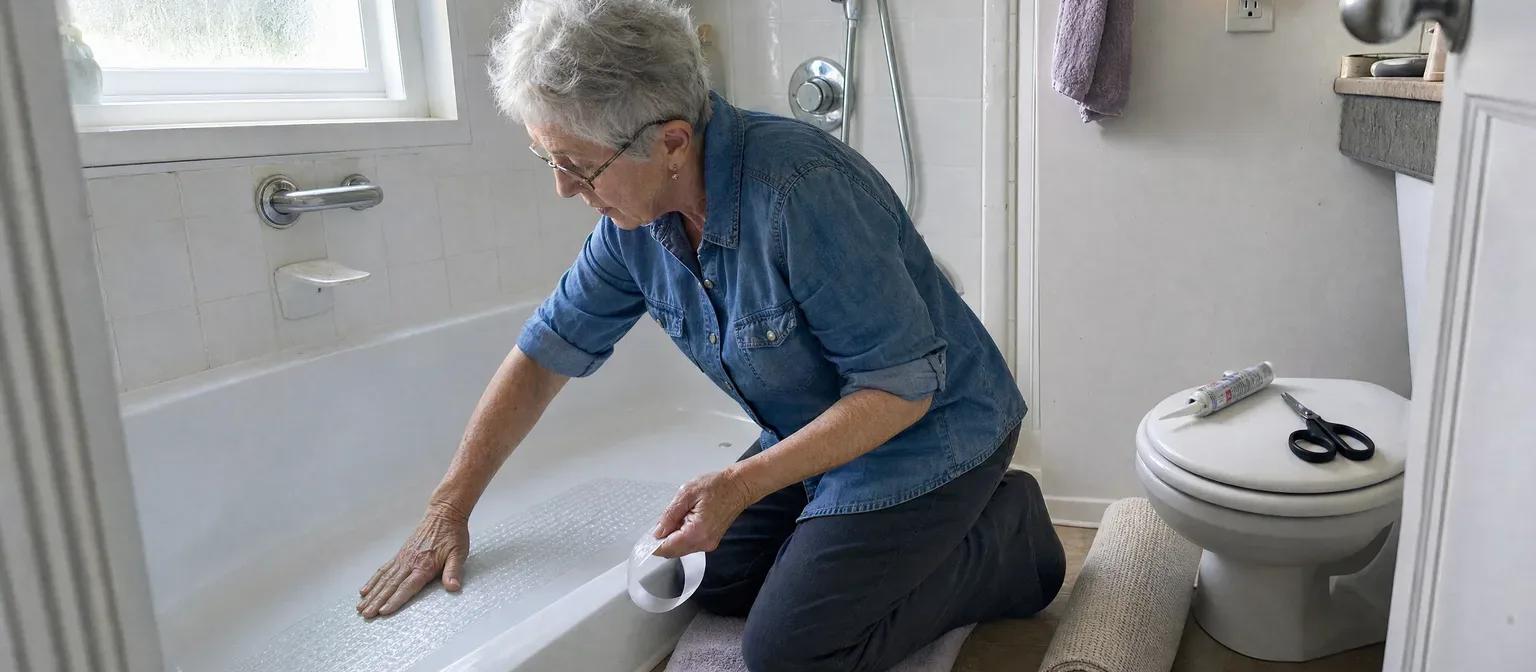
The bathroom is where wet floors, tight spaces, and the twisting moves of getting in and out of a tub all meet. Falls sent 81,599 older Canadians to hospital in the 2023 to 2024 fiscal year, not counting Quebec, according to the Public Health Agency of Canada (2024), and about half of older adults' fall-related hospital stays followed a fall at home.
Below are seven fixes in the order that gives the biggest safety gain for the least money, then the Canadian grab bar heights, non-slip choices, and the one thing a grab bar cannot do. For the rest of the house, see our guide to home modifications for aging in place; for the community supports around it, our explainer on Canada's Age Well at Home Initiative.
Common bathroom hazards for seniors
Wet and slippery floors top the list. Water from showers, condensation, and tracked-in moisture create treacherous surfaces. Loose bath mats slide underfoot, and high bathtub thresholds demand balance and leg strength that gets harder to count on with age.
Poor lighting leaves shadows and hides changes in depth, while cluttered counters and floors force awkward moves. Hard-to-reach shelves encourage bending and overreaching. Reduced balance, muscle strength, or vision makes each of these hazards worse.
Medications that cause dizziness or drowsiness add another layer. Small bathrooms in older apartments and houses limit room to move and raise the chance of bumping into fixtures. In winter, tracked-in salt and melting snow make the floor near the bathroom door slick.
Fixing these environmental risks is the foundation of bathroom safety. For a broader look at why older adults fall and how to reduce the risk throughout the home, see our guide on why Canadian seniors fall and how to stay steady.
Top bathroom safety tips for seniors, in order of cost and impact
Start with high-impact, low-cost changes and work toward larger upgrades as needed. This order delivers immediate gains without overwhelming the budget.
1. Remove trip hazards first
Clear floors of laundry baskets, electrical cords, loose rugs, and clutter. Tape down the edges of any mat you keep, or replace it with a rubber-backed model. Keep towels on hooks, not draped over tub edges where they can fall underfoot.
2. Install non-slip surfaces
Adhesive non-slip strips transform slippery tub and shower floors for very little money. Rubber-backed bath mats work well outside the shower; choose mats with suction cups or textured backing that grips tile. Avoid mats that curl at the edges or shift when stepped on. For the floor itself, our guide to the safest flooring for seniors compares the options.
3. Improve lighting
Add bright, diffuse overhead bulbs and plug-in night lights along the path from bedroom to bathroom. Motion-activated night lights work hands-free. Our guide to better home lighting for fall prevention covers bulb choices and placement room by room.
4. Add wall-anchored grab bars
Properly mounted grab bars give stable support during transfers beside the toilet, inside the shower, and at the tub entry. A standard stainless steel grab bar from a Canadian hardware store usually costs about 28 to 80 dollars, and professional installation usually runs about 165 to 340 dollars per bar (2025 to 2026 price listings and installer quotes). Grab bars need to be screwed into wall studs or reinforced backing, not just drywall anchors, so they can hold the required weight (Canada Mortgage and Housing Corporation, or CMHC, 2021; City of Markham, 2025). The full placement table, costs, and every Canadian funding program are in our grab bars for seniors guide.
5. Include seating and assistive fixtures
A shower chair or fold-down bench lets you bathe while seated, which reduces fatigue and the chance of losing balance. Raised toilet seats lower the effort needed to stand. Handheld showerheads on adjustable mounts make rinsing easier when seated. Lever-style faucet handles need less grip strength than round knobs, a simple swap that helps arthritic hands.
6. Decide when to renovate versus retrofit
Walk-in showers with curbless entries and built-in seating are the most thorough fix, and the most expensive. Choose targeted retrofits, meaning grab bars, seats, non-slip strips, and better lighting, if you rent, have a limited budget, or plan to move within a few years. Full renovations make sense for homeowners committed to aging in place and willing to invest in long-term accessibility. The federal Home Accessibility Tax Credit lets a senior claim up to 20,000 dollars a year in eligible renovation costs, including grab bars, for a maximum credit of 2,800 dollars at the 2026 tax rate (Finance Canada, 2026).
7. Buy with Canadian standards in mind
Medical supply stores, national hardware chains, and aging-in-place retailers stock grab bars, non-slip products, raised toilet seats, and shower chairs. Ask about weight ratings, warranty terms, and whether installation is available. For professional installation, request references, proof of liability insurance, and a written estimate before work begins.
Where grab bars go, and how high
Canadian standards and CMHC guidance put a horizontal bar along the long wall of the tub, vertical bars at the tub and shower entrances, and an L-shaped bar beside the toilet. The national accessibility standard from CSA Group (the Canadian Standards Association) says a bathtub should have one horizontal grab bar at least 47 inches long, mounted 7 to 11 inches above the rim. It adds a vertical bar at each end of the tub (CSA Group, 2023). For a shower entrance, CMHC recommends a vertical bar about 39 inches long, placed 3 to 5 inches from the edge of the enclosure. Its lower end sits 24 to 26 inches off the floor (CMHC, 2021). Beside the toilet, the standard calls for an L-shaped bar with both legs at least 30 inches long and the horizontal leg 29.5 to 33.5 inches above the floor, plus a rear bar behind the toilet (CSA Group, 2023).
A properly installed Canadian grab bar has to hold about 290 pounds of force from any direction, which is a higher standard than the 250-pound figure often quoted in US guidance (CSA Group, 2023). That strength comes from the mounting, not the bar: studs or blocking behind the wall, never drywall anchors alone.
Suction cup grab bars are meant for light balance only, not for putting your full weight on them. The maker's own instructions say to check the suction before every use and to install a permanent, screwed-in bar if you need real support (Drive Medical Canada, 2025).
When to hire a professional
An occupational therapist can assess how a person moves around their bathroom and recommend exactly where grab bars should go, though the OT usually recommends the work rather than installing it themselves (Canadian Association of Occupational Therapists, 2024). Hire an installer for tile that might crack, unclear wall construction, or hidden plumbing and wiring. In Ontario, applying for help with home modifications through March of Dimes Canada starts with an occupational therapist assessment, then an approved contractor does the work (March of Dimes Canada, 2025).
If you install them yourself
If you have basic carpentry skills and know what is behind the wall, a bar on a drywall wall with an obvious stud is a reasonable job. If the wall sounds hollow where the bar needs to go, or the surface is tile or stone, stop and hire a professional. A badly mounted bar creates a false sense of security and can fail at the worst moment.
Non-slip surfaces and mat selection
Slippery floors are behind many bathroom falls, and effective non-slip solutions exist at every price.
Installation and maintenance
Clean surfaces before applying adhesive strips; soap residue and oils stop them bonding. Replace strips when edges lift or the texture wears smooth. Wash rubber mats regularly in hot, soapy water or the washing machine to remove soap scum and prevent mildew. Inspect for cracks, torn suction cups, or loss of grip, and replace a damaged mat right away.
Hang mats to dry between uses when possible. Moisture trapped beneath a mat promotes mould and can make the mat's underside slippery.
Special cases
For a permanent tub-floor fix, consider textured epoxy paint or a professionally applied anti-slip coating. These bond to porcelain or fibreglass and last for years. Check the product's slip-resistance rating and ask an installer if you are unsure about surface prep or compatibility with your tub.
Fixtures, layout, and small upgrades that make a big difference
Beyond grab bars and non-slip surfaces, thoughtful fixture choices and minor layout changes add safety and comfort.
Shower seats and bath benches
Sitting while bathing reduces the chance of losing balance or tiring mid-shower. Folding wall-mounted benches save space in small stalls; portable shower chairs with rubber-tipped legs work in larger showers and tubs. Check the weight rating, choose models with drainage holes, and position the seat so the controls, showerhead, and soap are within easy reach.
Raised toilet seats and arm supports
A standard toilet takes real leg strength to stand up from. A raised seat adds a few inches of height and eases the effort. Models with built-in arm rails give extra support during transfers. Check that the seat fits your bowl shape and locks securely in place.
Faucets and controls
Replace round knobs with lever handles or a single-lever mixer. Levers are easier to grip and turn with arthritic hands. A thermostatic mixing valve limits the maximum water temperature, which matters for anyone with reduced sensation or slower reaction times.
Handheld showerheads
A wall-mounted showerhead forces standing and reaching. A handheld unit on a slide bar lets you rinse while seated and aim the water where it is needed. Choose a long, anti-kink hose and an easy-grip handle.
Lighting and contrast
Install bright, diffuse overhead lighting, add a separate light near the shower and toilet, and put motion-activated night lights along the hallway and inside the bathroom for nighttime trips. Apply high-contrast tape to threshold edges, tub rims, and any steps on the way to the bathroom; it helps anyone with low vision see changes in level.
Small layout fixes
Move soap, shampoo, and towels to shelves between waist and shoulder height so nobody has to bend low or reach high. Put a towel bar within reach of the shower exit. Smooth any raised threshold between rooms if you can, since even a small lip can catch a toe or a walker wheel, and use an adhesive threshold ramp where removing the lip is not practical.
These small upgrades add up. If you are making bathroom changes after a fall has already happened, our step-by-step guide on what to do after a senior falls helps you line the changes up with medical advice.
The moment a grab bar cannot cover
Even the safest bathroom cannot remove all risk. A grab bar makes getting up, stepping over, and turning around safer; it cannot call for help if a fall happens anyway. In one Canadian government study of brain-injury cases in adults 65 and older who fell at home, close to 1 in 7 falls with a known location, about 14 percent, happened in the bathroom (Public Health Agency of Canada, 2020).
Cameras inside a bathroom violate privacy and dignity, so they are not the answer. A shower-safe wearable help button is. Worn on the wrist or around the neck, it gives a way to call for help from behind a closed bathroom door, and many models include automatic fall detection. Our guide to fall detection for seniors in Canada explains how it works and what to look for.
Bathroom upgrades also pair well with the rest of a fall-prevention plan, including the strength and balance that come from regular walking; our post on walking your way to better health is a good companion read.